

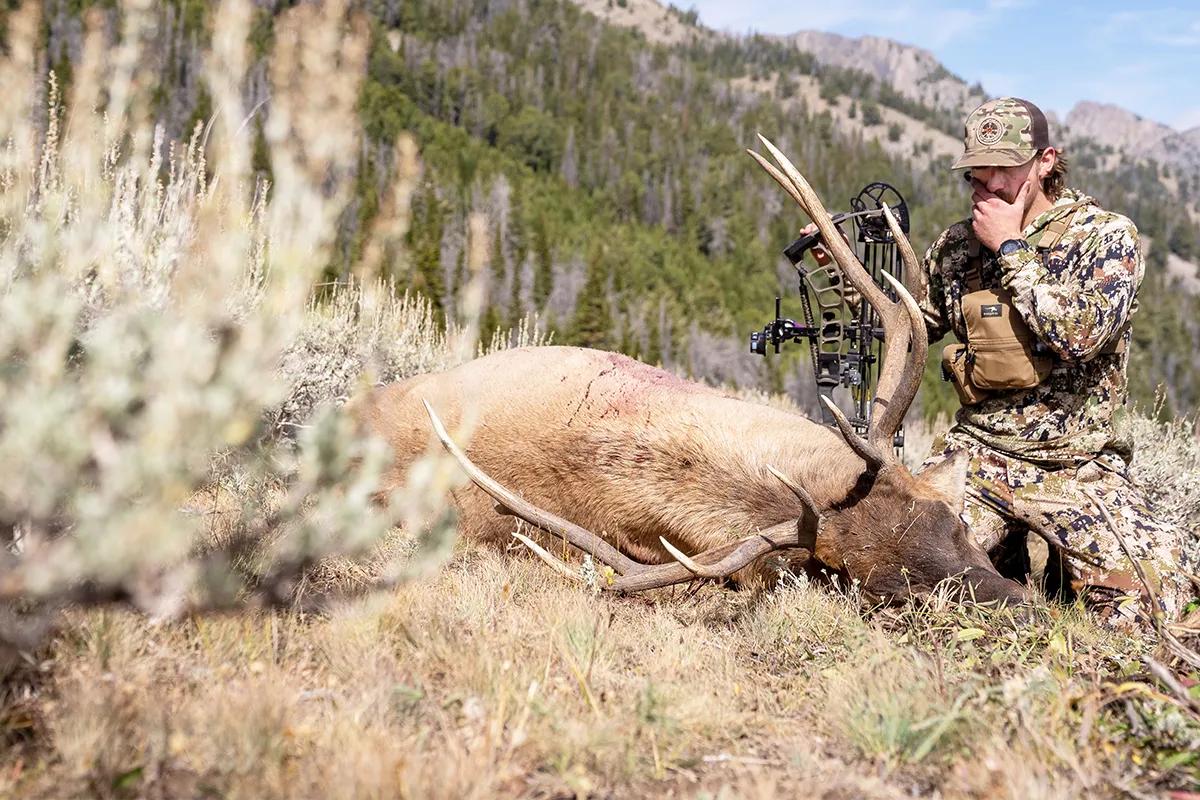
Public-land elk hunting is hard. The average success rate is below 10%, yet more and more hunters head West to give it a shot every year. Some find success in year one, but most don’t.
That’s why I like to utilize a three-year strategy when hunting elk in a new area. It includes e-scouting, forming an early hunt plan, analyzing and adapting, and then rinsing and repeating as necessary.
Year One: E-Scouting Is Crucial
During your first year hunting a new area, aerial scouting online will be a crucial part of forming your hunting plan. Unless you live in the state where you’re going to hunt, it probably isn’t possible to spend time scouting in person. Google Earth and hunting-map applications, like onX Maps, will give you a 10,000-foot view of your hunting grounds.
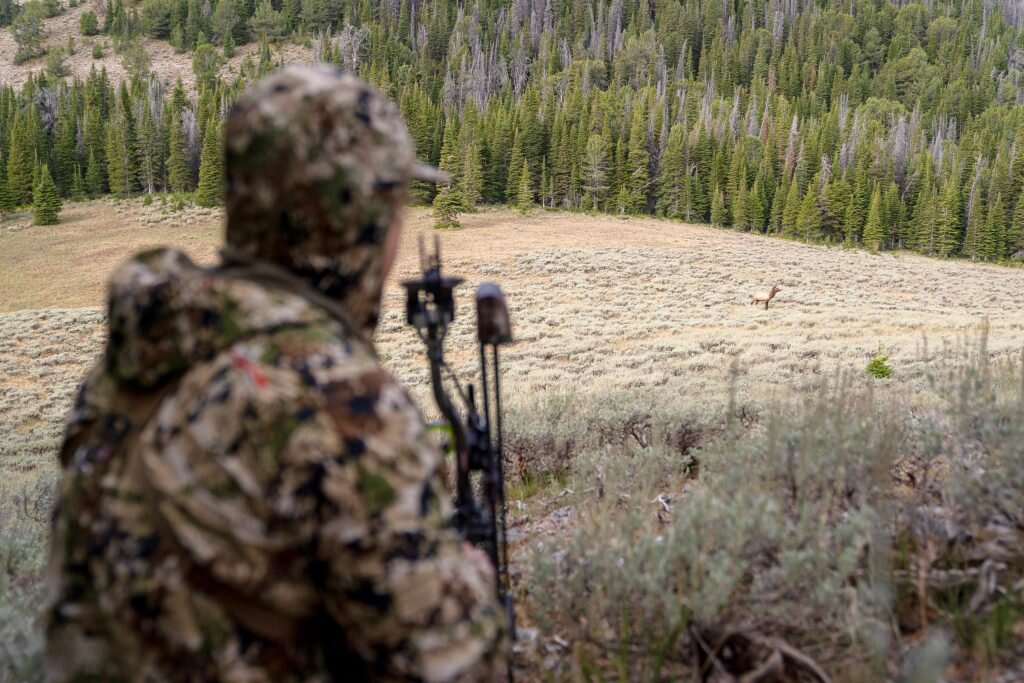
From that vantage point, identify and examine areas that have the food, water, cover, and terrain elk need to survive. Mark Livesay owns Treeline Academy, which teaches an elk “E-Scouting Masterclass.” On an episode of the East Meets West Hunt podcast, he talked in great detail about e-scouting methods and the importance of doing as much of it as possible in preparation for a hunt.
Mark land features and points of interest and add notes for each that you will understand later. I promise you won’t remember all of those locations and details once you are on the hunt, so don’t try.
Develop a Hunting Plan
A hunting plan is an effective yet underutilized tool that helps you stay organized — it’s essentially a blueprint for your hunt. Keep your plan simple while also including plenty of details that will allow you to pivot to a secondary option at any point.
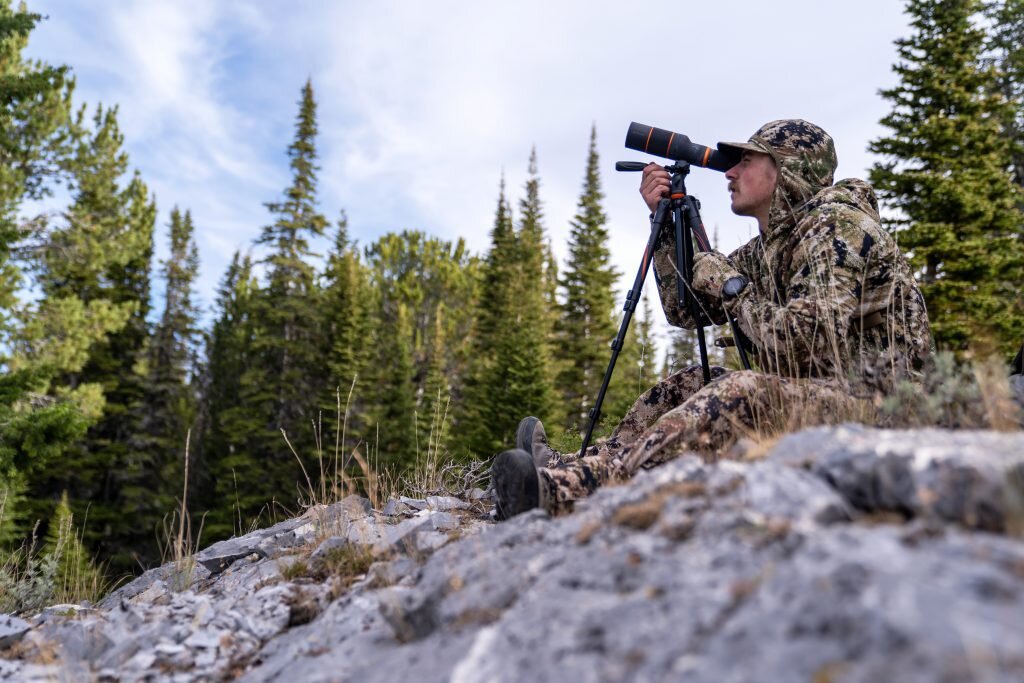
A hunting plan will include at least the following information for your main hunting area, as well as four or five backup options with specific locations identified within the larger areas:
- Access: This includes where you will park, how you will hike into the area, the distances involved, and emergency egress routes.
- Key Elk Features: The most promising food, bedding, and water sources in the area.
- Glassing Locations: All predetermined glassing locations marked along with your waypoints.
- Additional Information: Any details specific to the hunt like camping locations, where you can access water, possible hurdles, and other important information.
Make sure you print out a hard copy of your plan, put it in a plastic sleeve, and bring it with you. Having these details at hand for multiple areas ensures you’ll never be scrambling to find a new area when hunting pressure or other external issues derail your original plan.
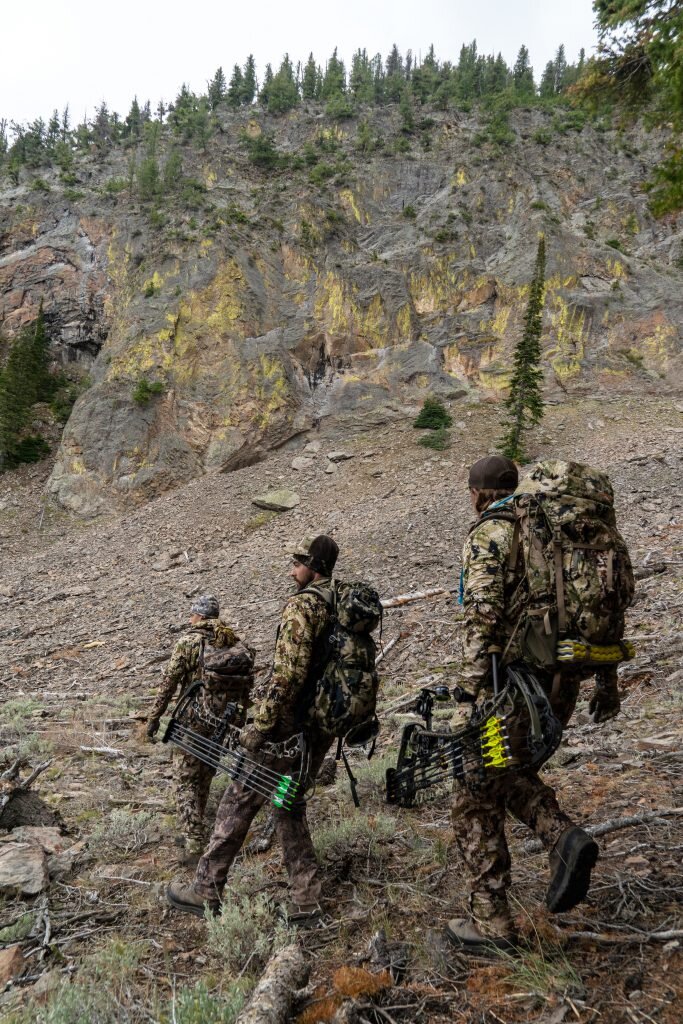
During the Hunt
When you get your boots on the ground, you’ll find out if all your e-scouting and hunt planning will pay off. Most likely, you will encounter some things that you didn’t anticipate, and that’s okay. Just be sure to identify lessons learned and document everything as field notes on your phone or in a small notepad.
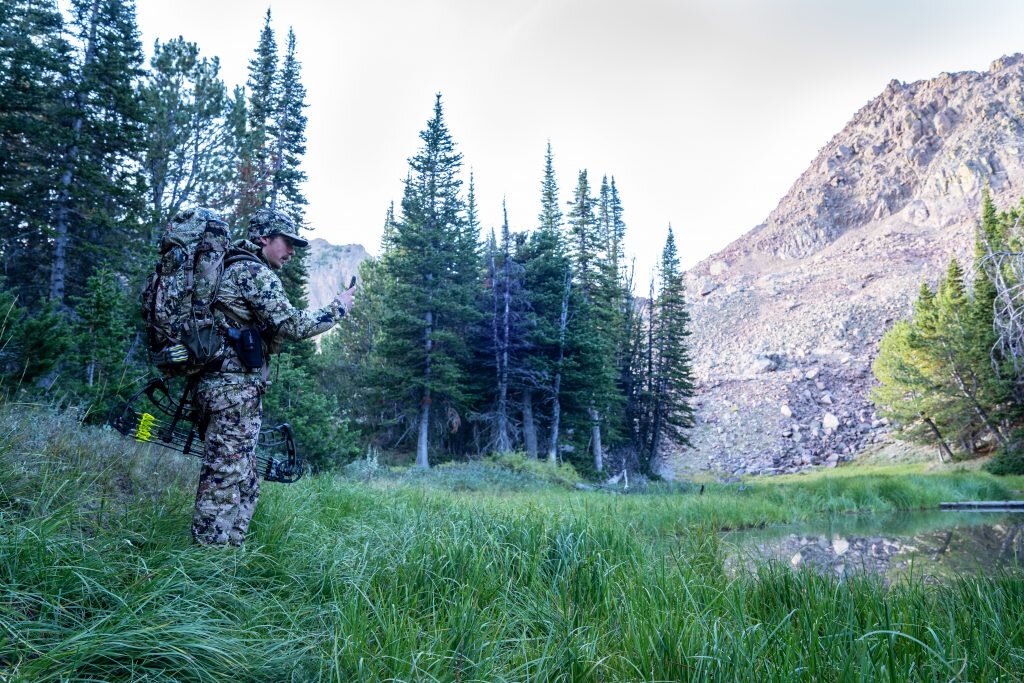
Be sure to note every location where you spot elk, find good sign, notice ample amounts of hunting pressure, identify elk travel routes, and anything else you think may be useful information.
Also, be honest with yourself about your own capabilities and record your feelings about your own physical fitness and hunting skills so you can zero in on areas that need improvement. Whether or not you are successful in the first year, this information will help you during future hunting seasons.
Year Two: Analyzing and Adapting
Going into an area for a second year gives you a leg up if you use the information you learned from the previous year. Analyzing your notes from the first hunt and learning from them is a key component to long-term success.
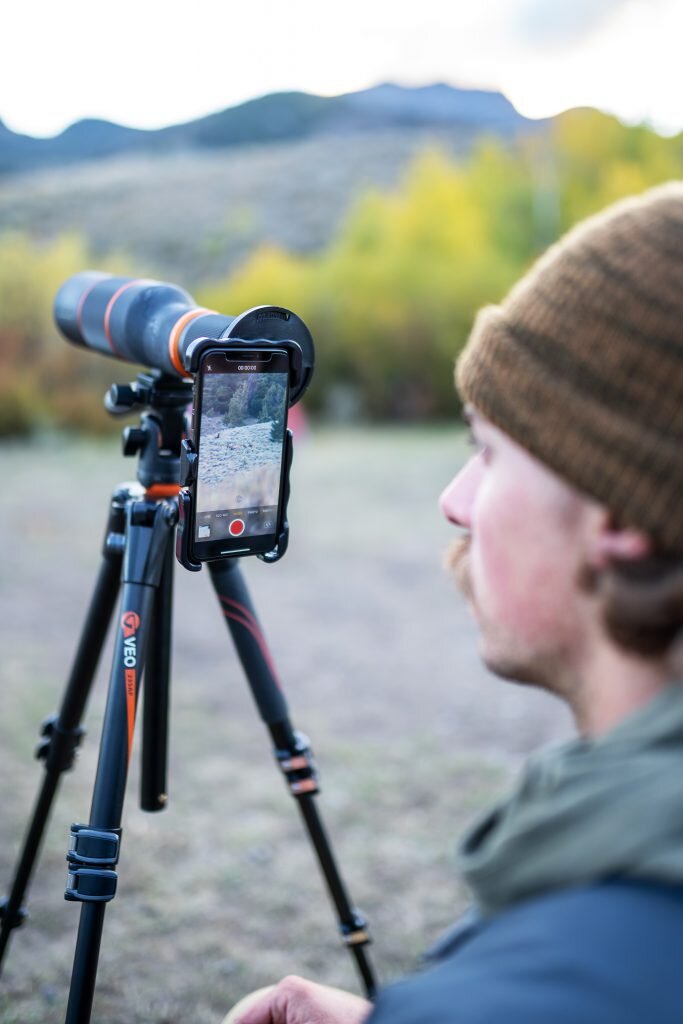
At this stage, focus your e-scouting and hunt planning on locations where you’ve identified high amounts of activity and sign. Put areas with high hunting pressure and no elk at the bottom of your list.
But remember, working from only one year of data can be misleading. After hunting an area for two years, you can focus on crossing out locations and nixing strategies that don’t work.
This is also a good time to update any gear that proved inadequate during your first year and learn any additional skills that you think will improve your chances of success.
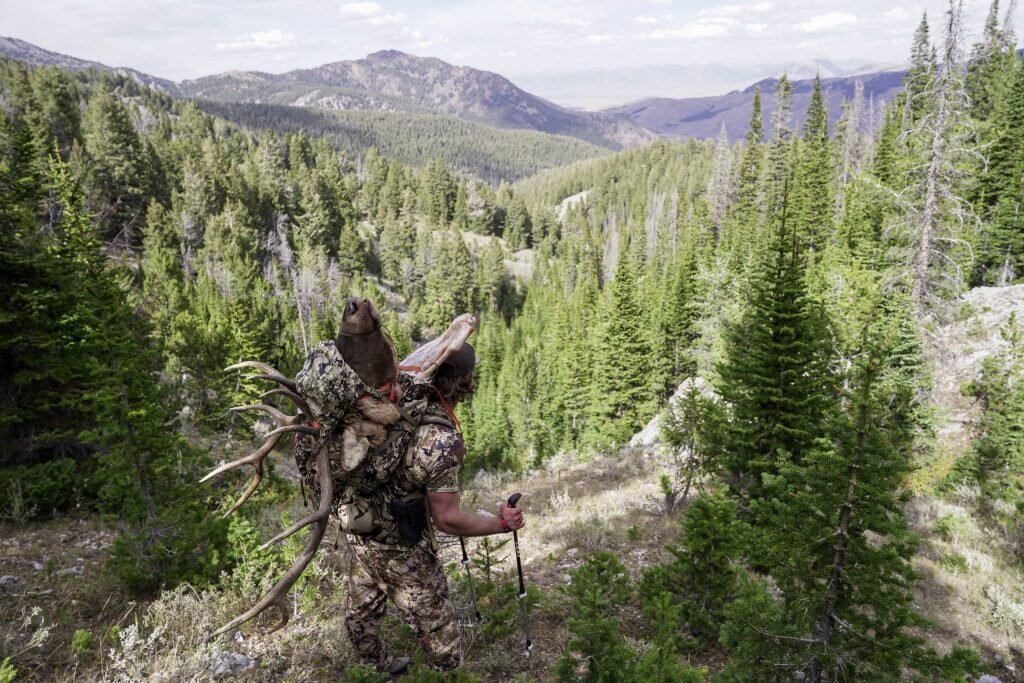
Year Three: Executing and Reassessing
Going into your third year, you should know a lot about the chunk of public land you’re hunting, and you should have spent many hours e-scouting, planning, and in the field.
Now is when you should begin deciding if you want to continue to hunt the same area or start the process all over again in a new spot or even a different state. If you’re doing all you can and still not finding success, it might be time to move on.
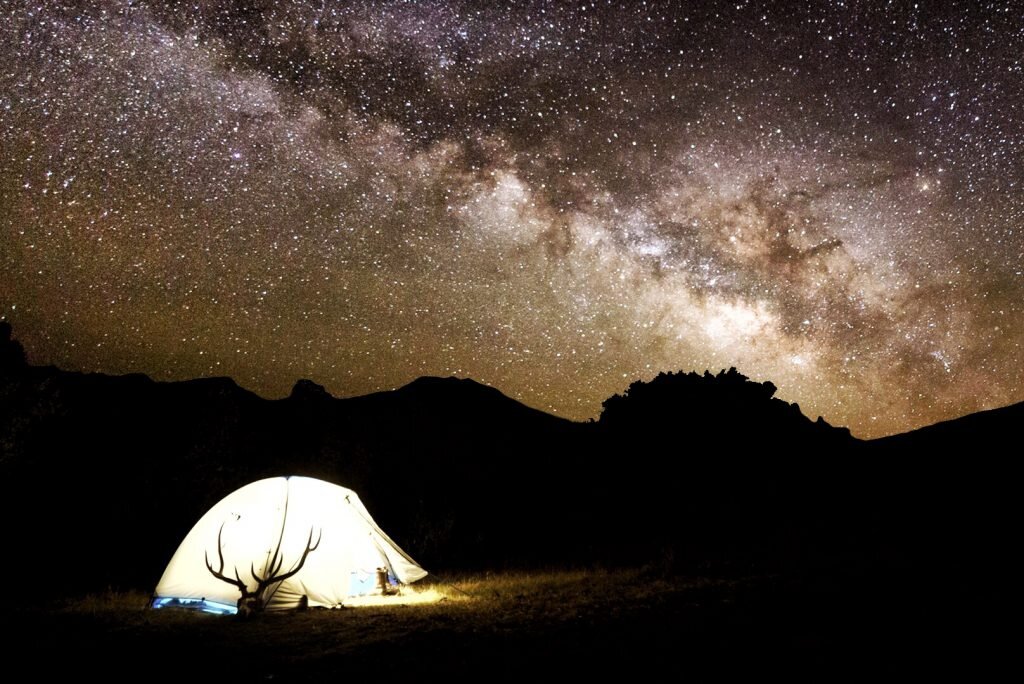
Your blueprint to success is built on fine details and learning from past experiences. You will get no reward from valuable information if you don’t apply what you learn to future endeavors.
I’ve interviewed dozens of consistently successful elk hunters, and one thing they all have in common is that they focus on the details. If you want to be one of the 10% of hunters who kill an elk on public land in a given year, learn to enjoy the process, painstaking as it can be, and develop and execute a detail-oriented hunting plan with plenty of research behind it.
Read Next: Elk Hunting Sucks, or The Life of an OTC Archery Hunter